Guest Actions: Login Process for Guests
When you are invited to a guest space, follow the steps described below to join it. Steps differ depending on whether you are already using Kintone or not.
Also, screen display might differ depending on the environment.
If Your Company Is Already Using Kintone
-
Check the subdomain that are being used for Kintone.
You can also check it by accessing your company's Kintone and seeing the URL in the address bar of your Web browser.
Example: https://subdomain name.kintone.com/k/ -
Click the link in the invitation e-mail.
-
Under "Use Kintone Domain Account", enter the subdomain that is being used for Kintone, and then click Use Kintone Domain Account.
-
Log in to Kintone that is being used.
If you are already logged in, skip this step. -
On the "Your Profile" screen, add your profile as a guest.
If You Are Not Currently Using Kintone
-
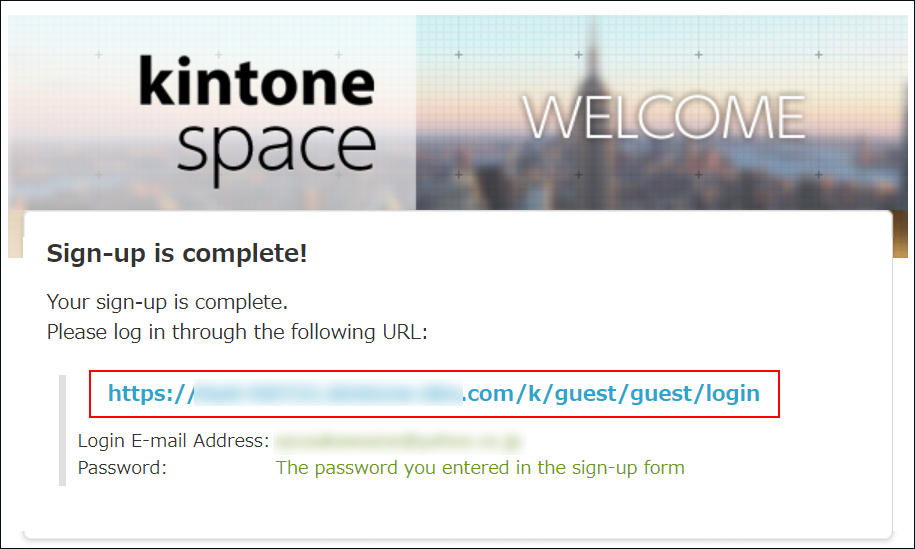
Access the URL below.
https://(subdomain name).kintone.com/k/guest/guest/login
Subdomain name can be checked in the notification e-mail received after completing account setup.
-
Enter your login name and password. Then, click Login.
- Login E-mail Address:
Enter the e-mail address where you received the notification e-mail after completing the account setup. - Password:
Enter the string that was entered during the initial setting.
In case you have forgotten your password, click Forgot your password? and reset the password.

- Login E-mail Address:
-
If necessary, enter the verification code and click Verify.
In some cases, 2-step verification is configured depending on the Kintone space to which you are invited.
When 2-step verification is configured, after step 2, enter the verification code that will be sent to your e-mail address in the above screen.

-
Add the login URL to favorites in your Web browser.
I want to easily access the login URL
Can I Change the E-Mail Address to Be Used for Login?
Yes, you can.
Guest users can make changes by themselves.
Guest Action: Change the E-mail Address