Setting the allowed apps for a plug-in
You can set which Kintone apps are allowed to be used with each plug-in. Specifying the apps that are allowed to use a plug-in prevents the plug-in from being used by other apps.
This feature is useful when you want to allow a plug-in to be used only by apps for which its use has been requested, or when you want to test out using a certain plug-in with a specific app.
To use this feature, you need Kintone administrative permission.
Allowed apps are specified on a per-plug-in basis.
You can also specify a space to allow all of the apps that belong to that space. When you specify a space, any apps that are added to the space later on will also be able to use the plug-in. However, if an app is moved from a specified space to a destination that has not been allowed to use the relevant plug-in, that app will no longer be able to use the plug-in.
Specifying a space can be useful when you have spaces that are used for specific departments or projects and you want a plug-in to only be used for a certain department or project.
By default, plug-ins are allowed to be used by all apps.
The steps to set the allowed apps for a plug-in are as follows.
-
Click the Settings icon (the gear-shaped icon at the top of Kintone), then select Kintone administration.
For more details, refer to the following page.
Opening the Kintone administration screen -
Click Plug-ins under Other.
-
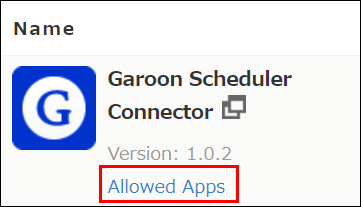
In the List of plug-ins section, click Allowed apps under the name of a plug-in under Imported plug-ins or a plug-in with the "Installed" status under Plug-in marketplace.
-
On the "Allowed apps for Plug-in" screen, select the allowed range for use of the plug-in under Plug-in access control.
- Allow all apps to use this plug-in
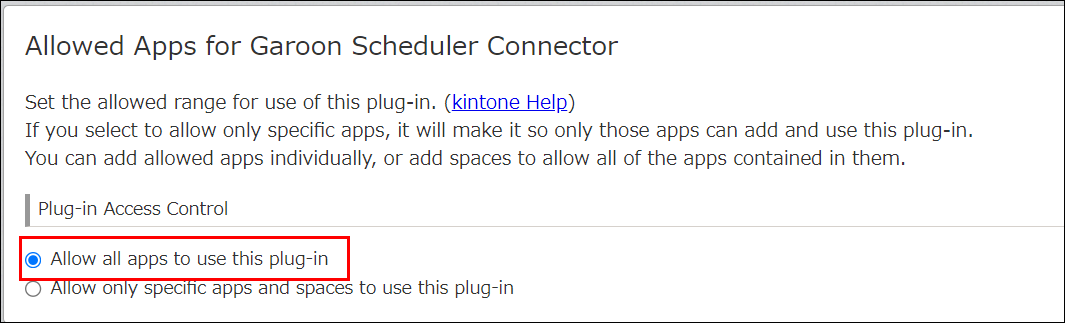
Select this option to allow all apps to use the plug-in.
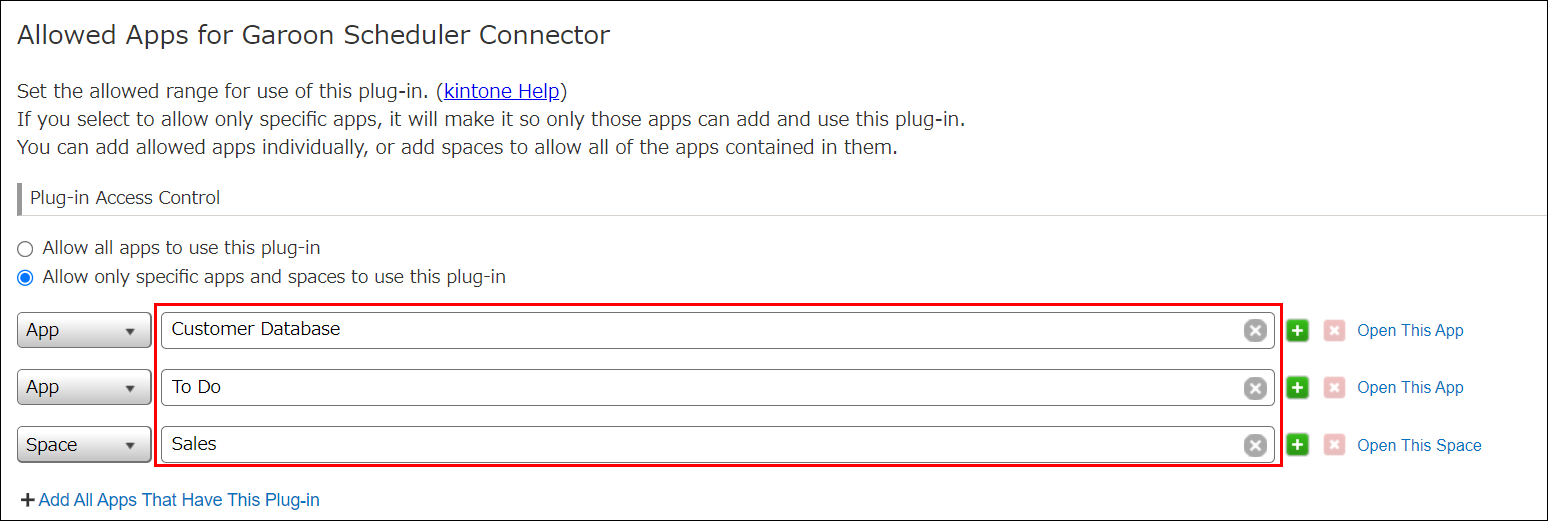
- Allow only specific apps and spaces to use this plug-in
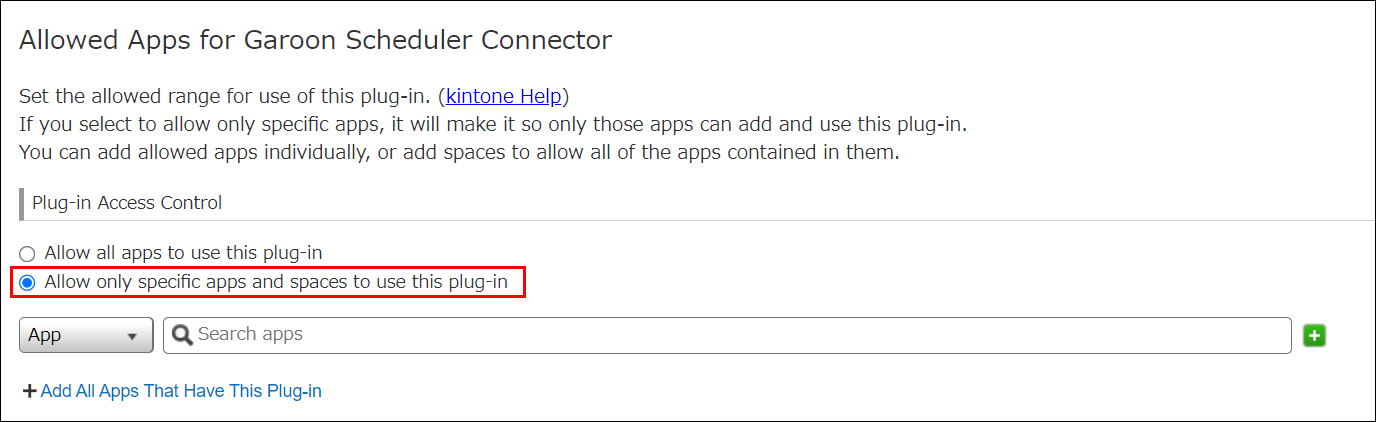 Select this option to allow the plug-in to be used only with the apps and spaces that you specify.
For information on how to specify apps and spaces, refer to the following section.
Specifying the apps and spaces allowed to use a plug-in
- Allow all apps to use this plug-in
-
Click Save at the upper left of the screen.
Specifying the apps and spaces allowed to use a plug-in
The steps to specify allowed apps and spaces on the "Allowed apps for Plug-in" screen are as follows.
-
Select App or Space from the drop-down list, depending on whether you want to specify an app or a space.
-
In the search box, enter part of the name of the app or space that you want to specify, then select the app or space from the suggestions that appear.