Is it possible to expand/collapse a category tree?
You cannot expand/collapse the category tree.
If you enable category, the category tree is always displayed, with all the levels opened, on the left side of the "View" screen.
For your reference, described below are the steps to use a drop-down field to categorize records and to create views for each record category.
Drop-down
The steps are as follows.
Adding a "Drop-down" Field
First of all, you will add a "Drop-down" field to be used instead of categories.
-
Open the app setting screen and select the Form tab.
-
Add a "Drop-down" field by dragging and dropping.
-
Hover the cursor over the top right of the "Drop-down" field that you placed. When the Settings icon (the gear-shaped icon at the top right of the field) appears, click Settings.
-
Configure the field setting and click Save.
Example: When creating category items A, B,and C- Field Name:
Enter "Category" - Items and their order:
A, B, C (From top to bottom)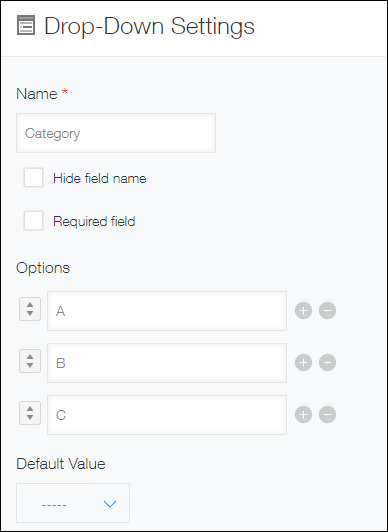
- Field Name:
-
Click Save Form on the upper left side of the screen.
-
Click Update App at the upper right of the screen.
-
On the confirmation dialog, click Update App.
Then, use this drop-down field to categorize records.
Categorizing Records
-
Open the edit records screen.
Editing Records -
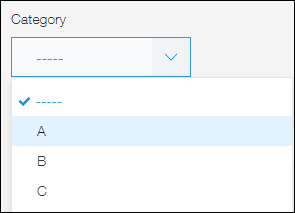
Select an category item from the drop-down field.
-
Click Save to save the record.
The last step is to create a view and set filter conditions.
Creating Views for Each Category
-
Open the app setting screen and click the Views tab.
-
Click the Add new view icon (the plus sign-shaped icon at the right of the screen).
-
Set the view and click Save on the upper left of the screen.
Example: When showing only records that belong to the category "A"- View Name:
Enter "Category A" - Visible Fields and Column Order:
Select "List view" and drag and drop the field you want to display in the view screen to the area on the right. - Filter Conditions:
Specify options in the drop-down field.
In this example, Category, includes any of, and A are selected.

- View Name:
-
Repeat the step to add a view for each option.
-
Click Update App at the upper right of the screen.
-
On the confirmation dialog, click Update App.
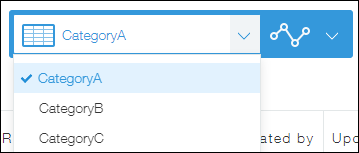
Now, views are created for each option.
By switching views, you can display records that are filtered by categories.