Configuring categories
This article explains how to enable the Category feature and how to add or delete categories in the category tree.
Enable the category feature and add categories
This section explains how to enable the Category feature and add categories.
-
Click the App settings icon (the gear-shaped icon) at the upper right of the View screen.

-
On the App settings screen, select the App settings tab, then click Categories under Advanced settings.
-
On the Categories screen, select the Use categories checkbox to enable categories.
-
In the Category tree section, add categories by clicking the Add icon (the plus sign-shaped icon) to the right of the input fields, and enter names for the categories.
- You can add up to a total of 1,000 categories, with up to five levels of a hierarchy including the parent category.
- A category name can be up to 64 characters long.
-
On the App settings screen, click Update app.
-
Click Update app at the upper right of the screen.
-
On the Update app dialog, click Update app.
Classify records by category
To classify records into the categories you have configured, navigate to the Edit record screen of each record and select categories of your choice.
You can select multiple categories.
Delete categories
To delete categories follow the steps below.
Check that there are no records classified under the category that you want to delete
Make sure to check records in both the activated app and the app's test environment.
Performing functional tests on apps
-
Click an app to open its View screen.
-
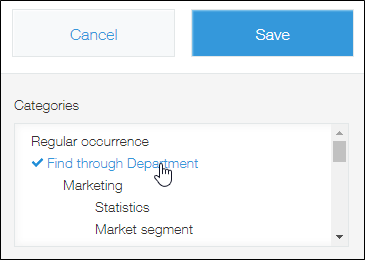
Click the category that you want to delete.
-
Check if there are records in the category.
-
If there are any records, edit the record to either change the category it belongs to or deselect the category.
Repeat steps 2 to 4 until there are no records classified in the category you want to delete.
Delete categories
-
Click the App settings icon (the gear-shaped icon) at the upper right of the View screen.
-
On the App settings screen, select Categories under Advanced settings on the App settings tab.
-
On the Categories screen, click the Delete icon to the right of the category that you want to delete.
-
Click Save at the bottom right of the screen.
-
On the App settings screen, click Update app.
-
On the Update app dialog, click Update app.
Error messages and solutions
Follow the solution below when this error message appears:
The category you are trying to delete cannot be deleted since there are records classified under it.
If the category you want to delete has any records in it, you need to make it so there are no records in the category.
Check that there are no records classified under the category that you want to delete
Note that this error message will include only one category name, even if there are more than one categories that cannot be deleted.