การเตรียมใช้งาน
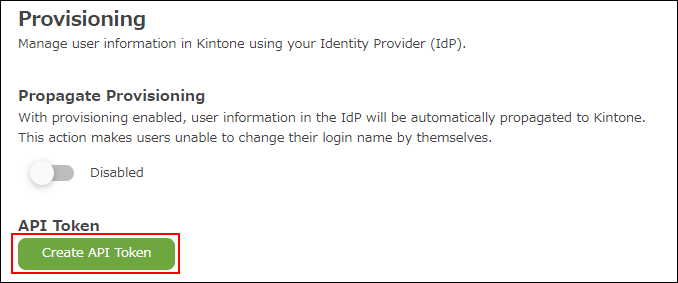
การเตรียมใช้งาน เป็นฟีเจอร์ที่ใช้จัดการข้อมูลผู้ใช้ใน Kintone โดยใช้ผู้ให้บริการข้อมูลประจำตัว (IdP) เช่น Microsoft Entra ID และ Okta
เมื่อเปิดใช้งานการจัดเตรียม ข้อมูลผู้ใช้ใน IdP จะถูกเผยแพร่ไปยัง Kintone โดยอัตโนมัติ
รายการที่เผยแพร่จาก IdP
เมื่อเปิดใช้งานการจัดเตรียม รายการต่อไปนี้จาก IdP จะถูกเผยแพร่
- ชื่อล็อกอิน
- ชื่อที่แสดง
- นามสกุล
- ชื่อจริง
- ที่อยู่อีเมล
- บริการที่พร้อมใช้งาน
แผนก ตำแหน่งงาน และ กลุ่ม (หรือหน้าที่) จะไม่ถูกเผยแพร่
การเปิดใช้งานการจัดเตรียม
-
การบริหารจัดการการเข้าถึง
การเข้าถึงการบริหารจัดการ -
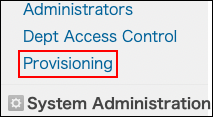
คลิก การเตรียมใช้งาน
-
คลิก สร้างโทเค็น API
-
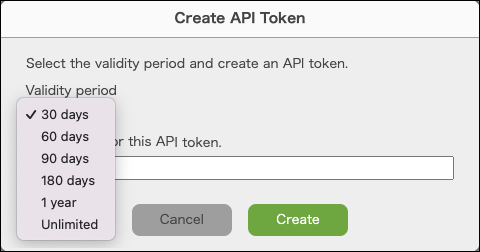
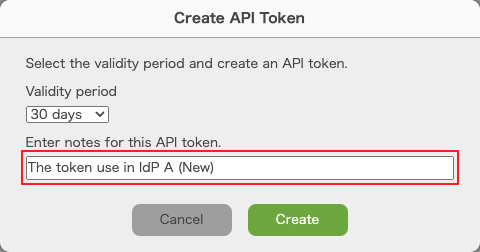
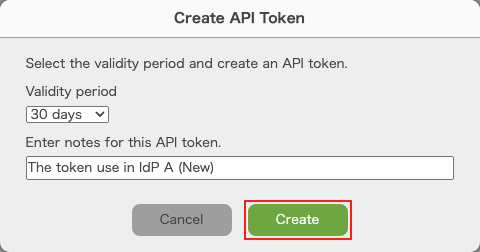
เลือก ช่วงเวลาการใช้งาน
-
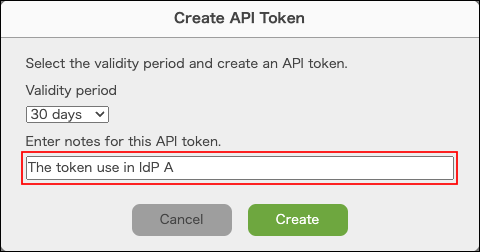
กรอกหมายเหตุสำหรับโทเค็น API นี้
-
คลิก สร้าง

-
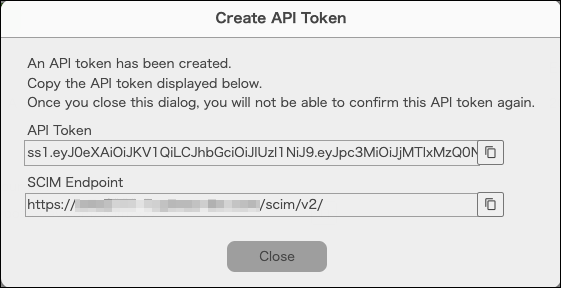
สร้าง โทเค็น API แล้ว
-
ลงทะเบียน โทเค็น API และ ปลายทาง SCIM ของ Kintone กับ IdP
คลิกปุ่มเพื่อคัดลอก โทเค็น API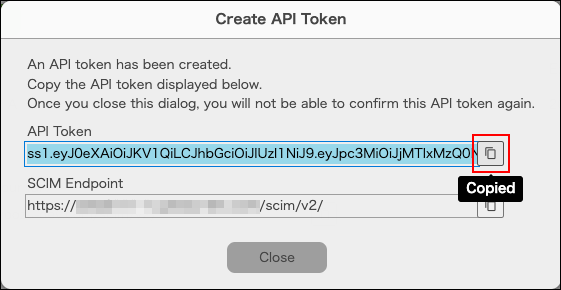
-
ปิด กล่องโต้ตอบ
-
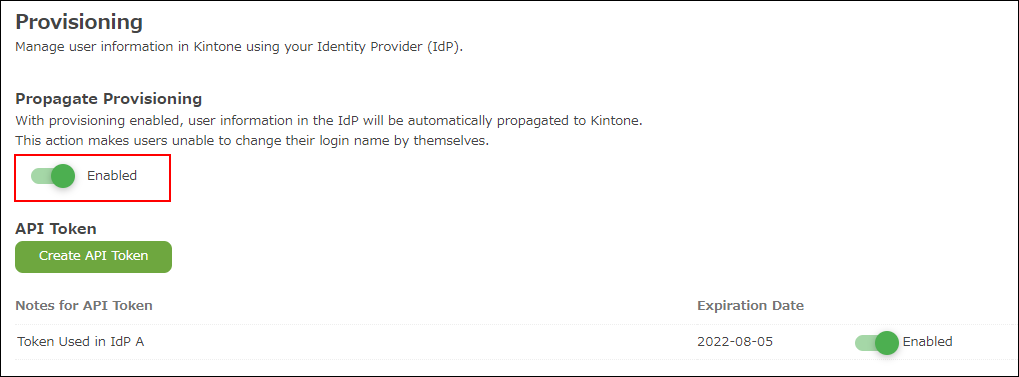
เปิดใช้งาน "เผยแพร่การเตรียมใช้งาน"
กำลังปิดใช้งาน งานการจัดเตรียม
หากปิดใช้งาน "เผยแพร่การเตรียมใช้งาน" ข้อมูลผู้ใช้ใน IdP จะไม่ถูกเผยแพร่ไปยัง Kintone อีกต่อไป

การออก โทเค็น API อีกครั้ง
-
คลิก สร้างโทเค็น API
-
เลือก ช่วงเวลาการใช้งาน
-
กรอกหมายเหตุสำหรับโทเค็น API นี้
-
คลิก สร้าง
-
สร้าง โทเค็น API แล้ว
-
ลงทะเบียน โทเค็น API ของ Kintone กับ IdP
คลิกปุ่มเพื่อคัดลอก โทเค็น API
-
ปิด กล่องโต้ตอบ
-
ปิดใช้งาน โทเค็น API เก่า

-
คลิก ลบ.

ข้อจำกัด
- หากเปิดใช้งาน "เผยแพร่การเตรียมใช้งาน" ผู้ใช้จะไม่สามารถเปลี่ยนชื่อเข้าระบบได้
- คุณไม่สามารถซิงโครไนซ์ "บริการที่ผู้ใช้งานสามารถใช้งานได้" จาก Microsoft Entra ID ได้
- หากคุณดำเนินการใดๆ ต่อไปนี้ในขณะที่เปิดใช้งาน "เผยแพร่การเตรียมใช้งาน" คุณอาจพบข้อผิดพลาดเมื่อเผยแพร่ข้อมูลผู้ใช้จาก IdP
- ลบผู้ใช้งาน ที่เผยแพร่จาก IdP ใน Kintone
- เพิ่มผู้ใช้ใน Kintone ก่อน จากนั้นเพิ่มผู้ใช้ที่มีชื่อผู้ใช้เดียวกัน (ชื่อเข้าสู่ระบบเหมือนกัน) ลงใน IdP
- เปลี่ยนแปลง ชื่อผู้ใช้ (Login names) ใน Okta
คำแนะนำการตั้งค่า
สำหรับรายละเอียดเกี่ยวกับวิธีการเผยแพร่ผู้ใช้ IdP ไปยัง Kintone โปรดดูที่หน้า Kintone Developer Program ต่อไปนี้
Okta
ซิงโครไนซ์ข้อมูลผู้ใช้ด้วยฟีเจอร์การจัดเตรียมผู้ใช้ของ Okta (มีเฉพาะภาษาอังกฤษเท่านั้น)
รหัส Microsoft Entra
การจัดเตรียม ผู้ใช้งาน และการซิงโครไนซ์กับ Entra ID (มีเฉพาะภาษาอังกฤษเท่านั้น)