Adding users
Add users who will use Kintone.
This page describes how to add users one by one.
To add multiple users in bulk, use "Import from file". As for the detailed steps, refer to the following page:
Adding or changing users and departments using a file
Steps
-
Access Administration.
Accessing Administration -
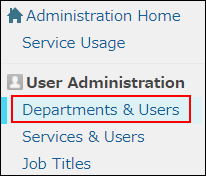
Click Departments & users.
-
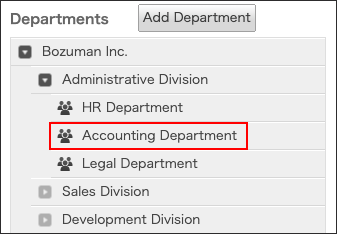
Expand the department tree, and select a department to which you want to add a user.
-
Click Add user.

-
Enter the information of the user you want to add.
For details on the items to be entered, refer to the following pages:
Items of user information
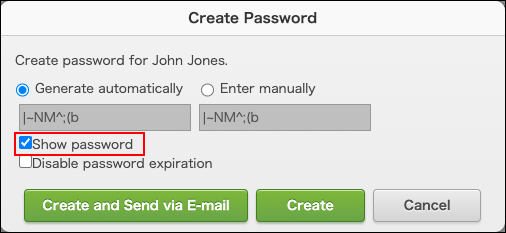
Creating a password -
Click Add user.
-
In the "Add user" dialog, select whether to send login information to the user via email.
To send the login information via email, click Preview email in the "Add user" dialog.
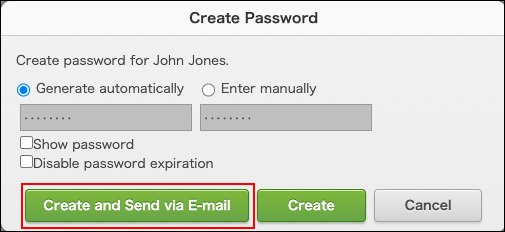 In the displayed "Send login information via email" dialog, edit the email address and message body as needed, and click Send.
To add the new user without sending the login information, click Add user without sending email.
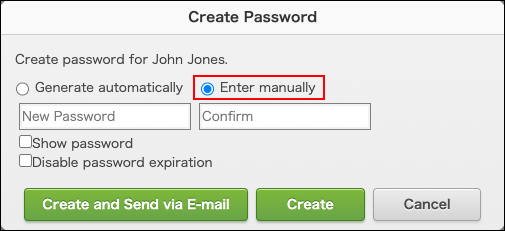
Creating a password
A random password is automatically generated in the Password field.
You can set your desired password instead of using the automatically generated password.
Entering a password manually
Clear the "Automatically generate password" checkbox and enter a password in the "Password" field.
Viewing the entered password
Select the "Show password" checkbox.
