Provisioning
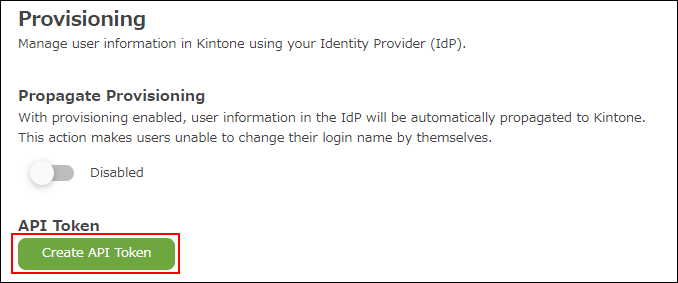
Provisioning is a feature used to manage user information in Kintone using the Identity Provider (IdP) such as Microsoft Entra ID and Okta.
When provisioning is enabled, user information in the IdP will be automatically propagated to Kintone.
Items propagated from IdP
When provisioning is enabled, the following items from IdP are propagated.
- Login name
- Display name
- Surname
- Given name
- Email address
- Available services
Departments, Job titles, and Groups (or roles) will not be propagated.
Enabling provisioning
-
Access Administration.
Accessing Administration -
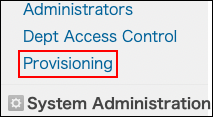
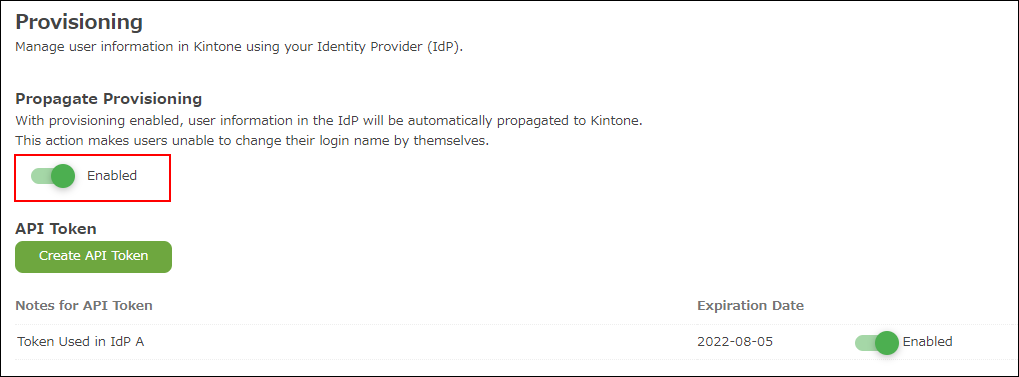
Click Provisioning.
-
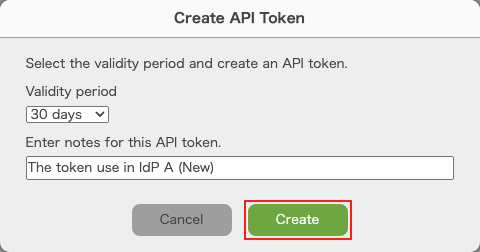
Click Create API token.
-
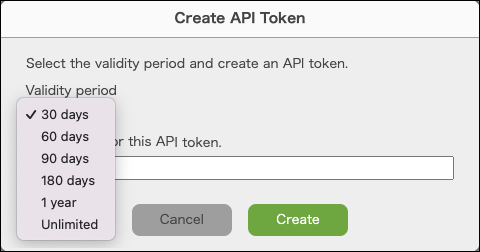
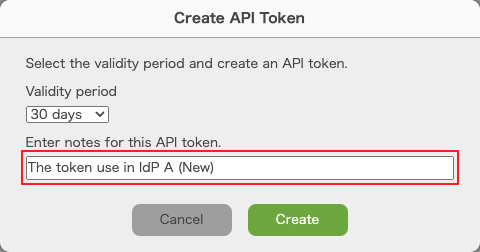
Select the validity period.
-
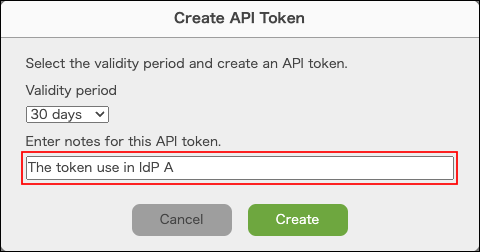
Enter notes for this API token.
-
Click Create.

-
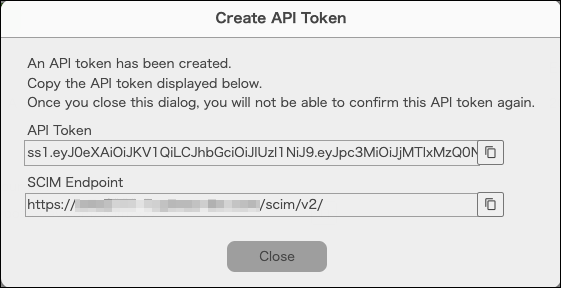
An API token is created.
-
Register the API token and the SCIM endpoint of Kintone with the IdP.
Click the button to copy the API token.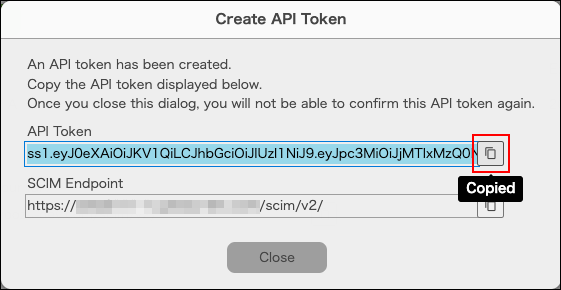
-
Close the dialog.
-
Enable "Propagate provisioning".
Disabling provisioning
If "Propagate provisioning" is disabled, user information in the IdP will no longer be propagated to Kintone.

Reissuing an API token
-
Click Create API token.
-
Select the validity period.
-
Enter notes for this API token.
-
Click Create.
-
An API token is created.
-
Register the API token of Kintone with the IdP.
Click the button to copy the API token.
-
Close the dialog.
-
Disable the old API token.

-
Click Delete.

Limitations
- If "Propagate provisioning" is enabled, users cannot change their login names.
- You cannot synchronize "User available services" from Microsoft Entra ID.
- If you perform any of the following actions while "Propagate provisioning" is enabled, you might encounter errors when propagating user information from IdP.
- Delete users propagated from IdP in Kintone.
- Add users to Kintone first, then add the users with the same user names (same login names) to IdP.
- Change user names (login names) in Okta.
Setting guide
For details on how to propagate IdP users to Kintone, refer to the following Kintone Developer Program pages.
Okta
Synchronize user data with Okta's user provisioning feature (Only available in English)
Microsoft Entra ID
User provisioning and synchronization with Entra ID (Only available in English)