Agregar usuarios
Utilice la información de este artículo para comenzar a agregar usuarios a Kintone.
El método descrito aquí se puede utilizar para agregar usuarios en cualquier momento, a diferencia de invitar a los usuarios desde la pantalla que aparece durante los inicios de sesión iniciales y el período de prueba gratuito.
Puedes agregar usuarios incluso si no has agregado ningún departamento.
También es posible agregar departamentos posteriormente, una vez agregados los usuarios. Para obtener información sobre cómo agregar departamentos, consulte la página siguiente.
Agregar departamentos
Pasos
Tenga en cuenta que solo los usuarios Kintone y los administradores del sistema pueden agregar usuarios.
-
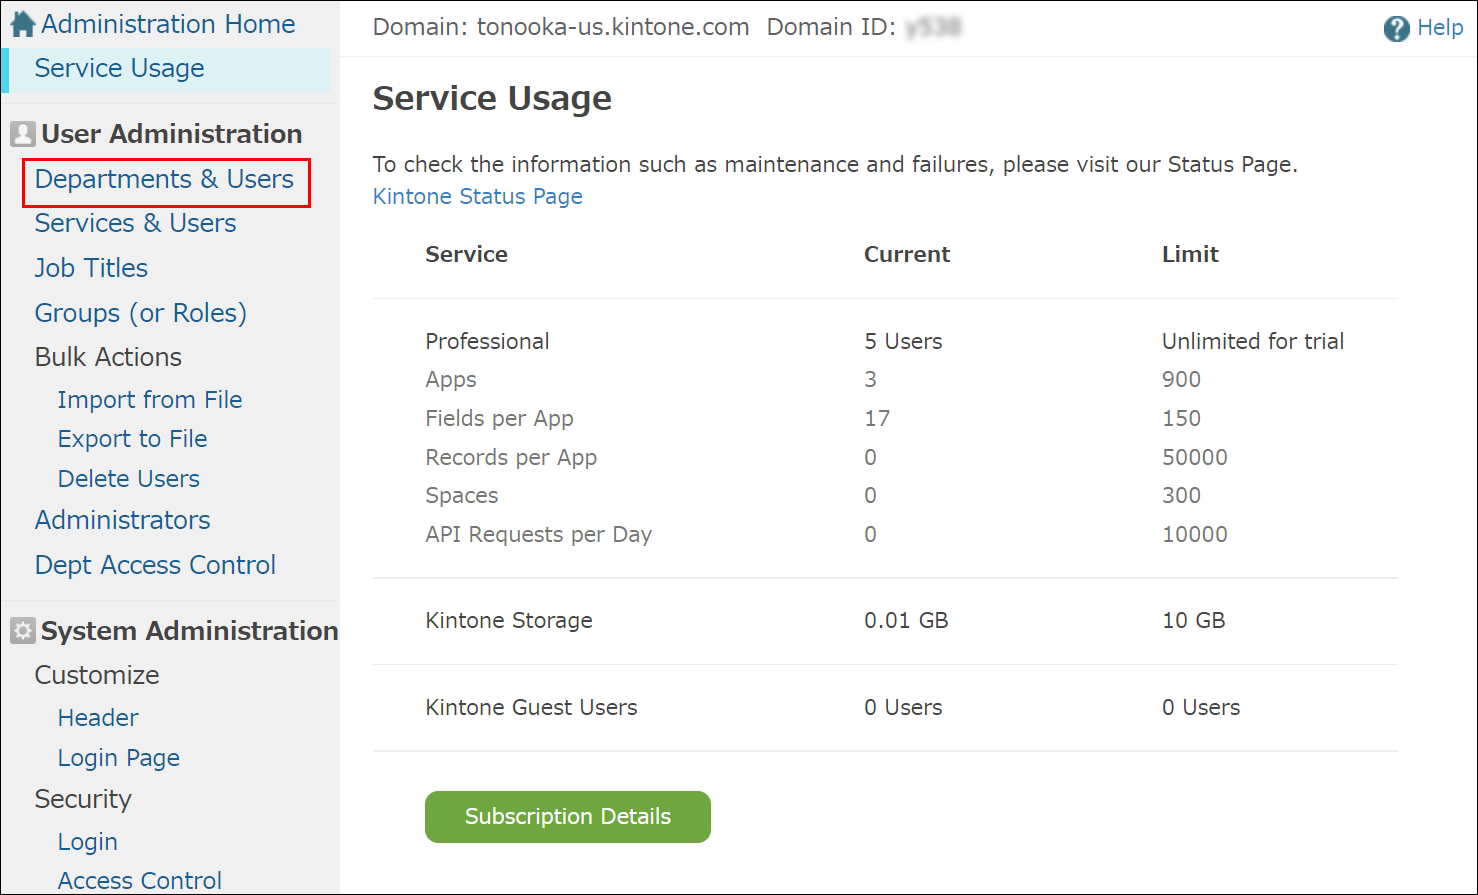
Haga clic en el ícono Ajustes (el ícono con forma de engranaje) en la parte superior de Kintone, luego haga clic en Usuarios y administración del sistema.

-
En la pantalla Administración del sistema y usuarios, haga clic en Dptos. y usuarios en Administración Usuario.
-
Seleccione una de las siguientes opciones, según desee configurar un departamento para el usuario. (También puede cambiar o configurar el departamento de un usuario después de agregarlo).
- Si desea configurar el departamento del usuario: Ampliar el árbol de departamentos y seleccione un departamento.
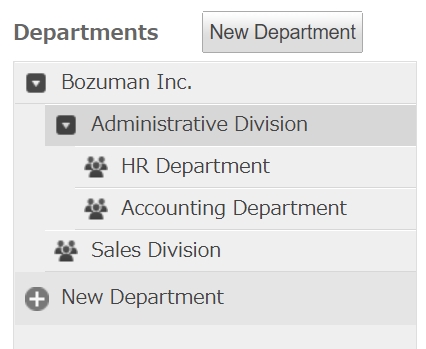
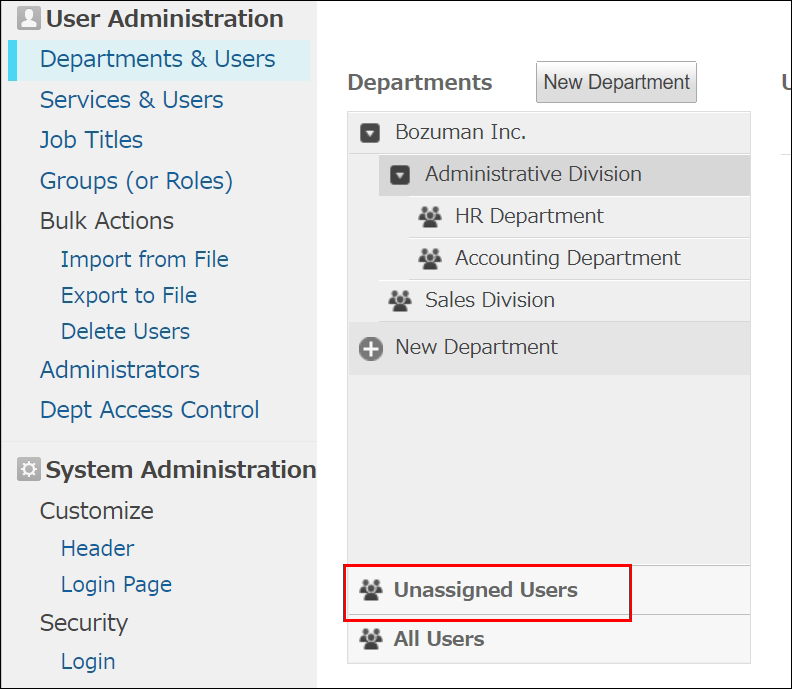
- Si no desea establecer un departamento para el usuario: haga clic en Usuarios aún no asignados.
- Si desea configurar el departamento del usuario: Ampliar el árbol de departamentos y seleccione un departamento.
-
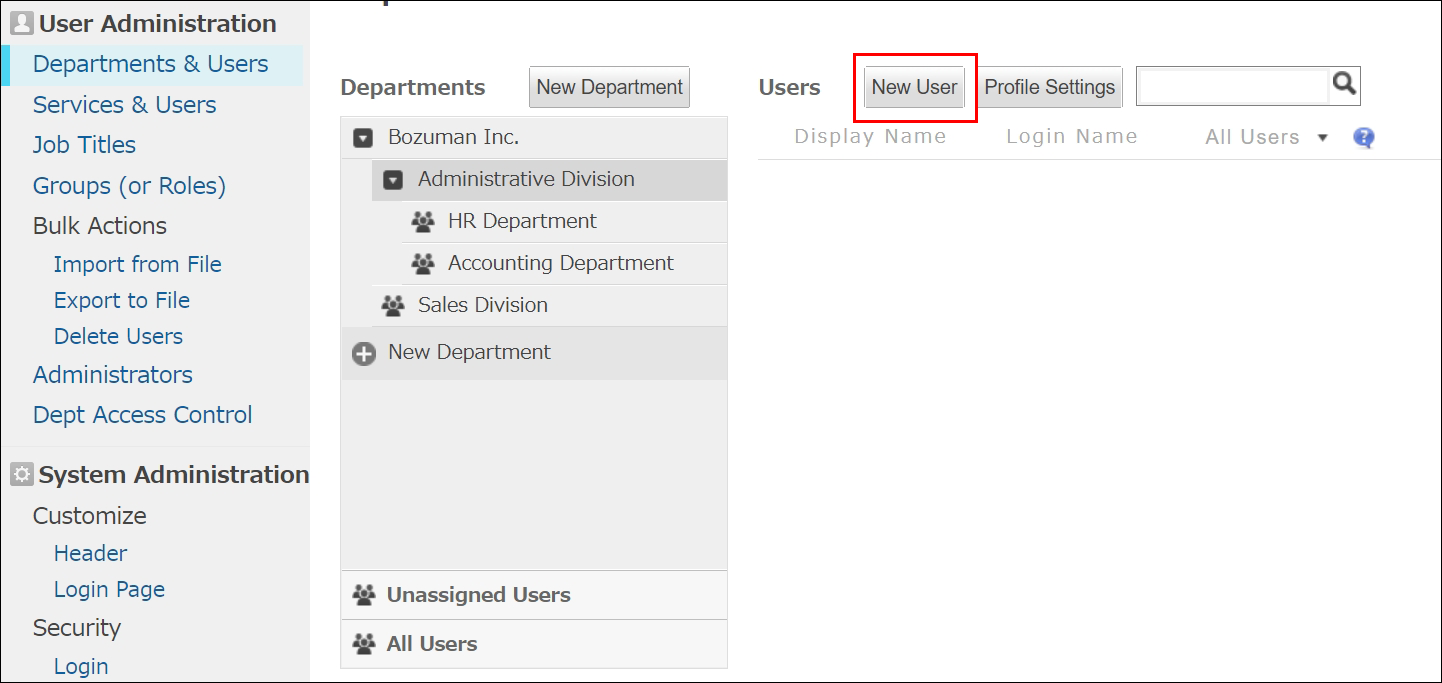
Haga clic en Agregar usuario.
-
Configure los ajustes en la pantalla Agregar usuario.
-
Cuenta
-
Nombre vis. (Obligatorio):
Introduzca el nombre del usuario que se mostrará en Kintone. -
Dirección de correo electrónico:
Ingrese la dirección de correo electrónico del usuario. Esta dirección se usará para recibir notificaciones de Kintone y para restablecer la contraseña si la olvida. No utilice una dirección de correo electrónico compartida. -
Utilice la dirección de correo electrónico como nombre de inicio de sesión:
Esta casilla está seleccionada de forma predeterminada. Si el usuario que va a agregar no tiene una dirección de correo electrónico o no desea usarla como nombre de inicio de sesión, desmarque la casilla y configure un nombre de inicio de sesión. -
Nombre de inicio de sesión (Obligatorio):
Si la casilla "Usar dirección de correo electrónico como nombre de inicio de sesión" está desmarcada, introduzca un ID para iniciar sesión en Kintone. Para obtener información sobre los tipos de caracteres aceptados y la longitud máxima de los nombres de inicio de sesión, consulte la página siguiente.
Caracteres que se pueden utilizar para el nombre de usuario y la contraseña -
Contraseña (Obligatorio):
Establezca la contraseña del usuario utilizando cualquiera de los siguientes métodos.- Si desea utilizar una contraseña generada automáticamente:
Asegúrese de que la casilla "Generar contraseña automáticamente" esté seleccionada. Está seleccionada por defecto. - Si desea establecer una contraseña manualmente:
Deselecc. la casilla "Generar contraseña automáticamente" e introduzca una contraseña. Para obtener información sobre los tipos de caracteres aceptados y la longitud máxima de las contraseñas, consulte la página siguiente.
Caracteres que se pueden utilizar para el nombre de usuario y la contraseña
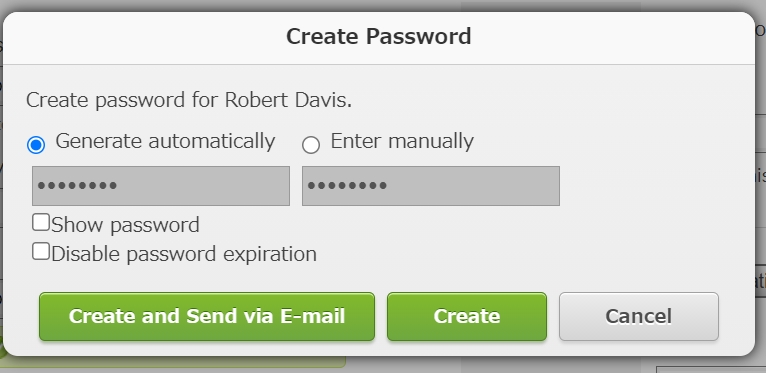
- Para ver la contraseña ingresada en el campo Contraseña, seleccione la casilla de verificación Mostrar contraseña.
- Si selecciona Desactivar la caducidad de la contraseña, la contraseña del usuario será válida indefinidamente, independientemente de la configuración actual de la política de contraseñas. Para obtener más información sobre la configuración de la política de contraseñas, consulte la página siguiente.
Política Contraseña
- Si desea utilizar una contraseña generada automáticamente:
-
-
Estado de la cuenta
- Estado:
Elija Activo o Inactivo como estado de la cuenta. - Servicios Disponible:
Esta sección muestra los servicios disponibles con su licencia y los servicios para los que ha solicitado una prueba. Asegúrese de que la casilla de Kintone esté seleccionada.
- Estado:
-
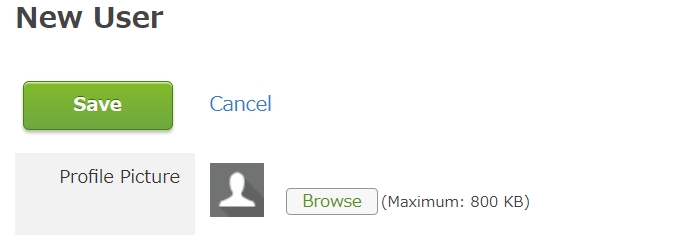
Perfil Básico
- Foto de perfil:
Seleccionar un archivo de imagen de 800 KB o menos. Se admiten los siguientes formatos de archivo de imagen: GIF, JPEG, PNG y BMP. - Nombre y Apellido:
Introduzca el apellido y el nombre del usuario. - Nombre fonético y Apellido fonético:
Introduzca la pronunciación del nombre y apellido del usuario.
- Foto de perfil:
-
Dpto. (s)
- Dpto. (s):
Establezca el departamento y el puesto del usuario. Para obtener más información sobre cómo agregar departamentos o puestos, consulte las páginas siguientes. - Departamento Prioridad:
Seleccionar el departamento al que se le dará prioridad para ser mostrado en la pantalla del usuario si pertenece a varios departamentos.
- Dpto. (s):
-
Contactos
- Telf.:
Introduzca un número de teléfono para el usuario. - Extensión:
Introduzca un número de extensión para el usuario. - Teléfono Móvil:
Introduzca un número de teléfono móvil para el usuario. - URL:
Introduzca la URL de una página web para el usuario. - Nombre de Skype:
Introduzca un nombre de Skype para el usuario.
- Telf.:
-
Lugar
- Idioma:
Seleccionar el idioma que el usuario utilizará en Kintone. - Zona horaria:
Seleccionar la zona horaria del usuario.
- Idioma:
-
Nombre vis. en diferentes idiomas
- Idioma Mostrar:
Seleccionar el otro idioma que el usuario utilizará en Kintone. - Nombre vis. en diferentes idiomas:
Introduzca el nombre que se mostrará en el otro idioma especificado en Kintone. Si no se especifica ningún nombre, el nombre definido en Nombre vis. se mostrará como el nombre del usuario en Kintone.
- Idioma Mostrar:
-
Otros
Para obtener detalles sobre cómo configurar los ajustes opcionales, consulte la página siguiente.
Elementos de información del usuario -
Orden visual.
- Orden visual.:
Especifique la prioridad para mostrar al usuario en las pantallas de selección y en otras listas. Para más detalles, consulte la página siguiente.
Cambiar el orden de visualización de los usuarios
- Orden visual.:
-
-
Haga clic en Agregar usuario.
-
Aparecerá el cuadro de diálogo "Agregar usuario". Seleccionar si desea enviarle la contraseña y la información de inicio de sesión del usuario por correo electrónico.
- Para enviar un correo electrónico al usuario: haga clic en Vista previa de correo electrónico, edite los campos Dirección de correo electrónico y Cuerpo Mensaje si es necesario y seleccione Enviar.
- Para no enviar un correo electrónico al usuario: Haga clic en "Añadir usuario sin enviar correo". Después, informe al usuario de la siguiente información.
- URL de acceso de Kintone (Ejemplo: https:// nombre-de-subdominio.kintone.com/k/)
- Nombre de inicio de sesión
- Contraseña
Configuración de seguridad Usuario
Las siguientes características de seguridad se proporcionan para controlar el acceso de los usuarios. Considere usarlos según sea necesario.
Inicio de sesión único con autenticación SAML
Los usuarios pueden iniciar sesión único (SSO) en Kintone utilizando cuentas de usuario registradas con un proveedor de identidad (IdP).
Para obtener más detalles, consulte la página siguiente.
Autenticación SAML
Autenticación de dos factores (usando una aplicación de autenticación)
Los usuarios deberán ingresar un código de verificación proporcionado por una aplicación de autenticación (p. ej., Google Authenticator y Microsoft Authenticator), además de su nombre de usuario y contraseña. Esto les permite iniciar sesión en Kintone de forma más segura.
Para obtener más detalles, consulte la página siguiente.
Autenticación de dos factores
Restricciones de direcciones IP
Puede limitar las redes que pueden acceder Kintone por dirección IP.
Para obtener más detalles, consulte la página siguiente.
Restricciones de direcciones IP